

CMake Overview
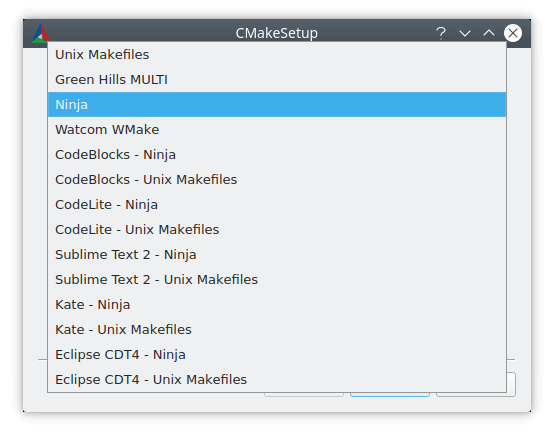
CMake for mac is a free, open-source build system generator maintained by Kitware, the same company behind VTK and ParaView. Version 4.4.3 is the current stable release, distributed for Mac as a universal binary. Rather than compiling code directly, CMake reads a single set of configuration files and generates whatever native build system you actually want to use, Xcode projects, Ninja files, or plain Makefiles. It's the build system behind major open-source projects like Blender, LLVM and Clang, Qt, MySQL, and MuseScore. The Mac download installs as a GUI app, but most developers use it from Terminal or via Homebrew, which requires one small extra step covered below.
Why Choose CMake for Mac
Most build tools lock a project into one compiler or one IDE. CMake reads one configuration and outputs whatever your team is actually using, so a project built with Xcode on one machine and Ninja on a CI server doesn't need two separate setups maintained side by side. That flexibility is why it underpins such a wide range of open-source C and C++ projects, from game engines like Blender's toolchain to compiler infrastructure like LLVM.
The GUI installer hides one detail that trips up a lot of new Mac users: dragging CMake.app into Applications gives you a working graphical tool, but Terminal won't recognize the cmake command until you take one more step. That's covered in detail in the installation section below, since it's the single most common thing people search for when setting this up.
Key Features
- Generates Xcode projects, Ninja files, or Makefiles from one configuration, matching whatever toolchain your team already uses
- Powers major open-source projects, including Blender, LLVM/Clang, Qt, MySQL, and MuseScore
- Bundled CTest for running and managing project test suites
- Bundled CPack for packaging-built software into installers or archives
- GUI app (CMake.app) for configuring build options visually
- Command-line tools for scripting and terminal-based workflows
- Out-of-source builds, keeping generated files separate from source code so deleting a build folder never touches your source
- Wide compiler support across GCC, Clang, and MSVC
- Installable via Homebrew or pip, not just the official .dmg
- Cryptographically signed releases (SHA-256 hashes plus a PGP signature) for verifying a download hasn't been tampered with
What's New in 4.4.4 Version
Version 4.4.4 is a small maintenance release. The one documented change: Swift policy CMP0215's new behavior now requires policies CMP0157 and CMP0195 to also be set to NEW, a change relevant specifically to projects building Swift code with CMake. This follows the broader 4.4 release line, which continues Kitware's usual pattern of prioritizing stability and broad compiler compatibility over frequent feature churn, unsurprising for a tool this many other projects depend on.
Supported macOS Versions
CMake offers two separate Mac downloads: a universal binary for macOS 12 or later, and a separate universal build for Macs running macOS 10.10 or later, both covering Apple Silicon and Intel from the same installer. Which one you need depends on your Mac's operating system version, not its processor. Apple Silicon Macs configure and build large projects noticeably faster than Intel Macs, since CMake's own configuration step involves a fair amount of file scanning and dependency resolution, though this matters most on genuinely large codebases rather than small personal projects.
How to Install CMake on macOS?
Setting up CMake on your Mac takes a couple of extra steps compared to a typical app.
Option 1: Official installer (.dmg)
- Download the latest version of CMake for Mac, matching your macOS version (12+ or 10.10+).
- Open the downloaded disk image (.dmg) file.
- Drag the CMake app into your Applications folder.
- Launch CMake from Applications.
- Open the Tools menu and choose "Install For Command Line Use." This is the step that actually makes cmake work in Terminal, without it, Terminal returns "command not found" even though the app itself opens fine.
- Confirm it worked by opening Terminal and running cmake --version.
Option 2: Homebrew (the way most Mac developers actually install it)
- Open Terminal.
- Run brew install cmake.
- Confirm it worked by running cmake --version.
Homebrew's version updates automatically whenever you run brew upgrade, while the .dmg installer requires manually downloading a new version each time. If you're setting up CMake specifically to build another open-source project you found on GitHub, there's a good chance its own README already assumes you're using Homebrew.
Option 3: pip (for Python-centric workflows)
Running pip install cmake installs a CMake binary alongside your Python environment, officially listed by Kitware as an alternative binary distribution. This is common in Python projects that compile native extensions as part of their build process.
How to Use CMake?
- Open a terminal and navigate to your project's source directory.
- Run cmake -S . -B build to configure the project into a separate build folder.
- Run cmake --build build to compile the project using the generated files.
- Use ctest from the build folder to run any included test suites.
- Use cpack from the build folder if you need to package the finished build into an installer or archive.
- Prefer a visual workflow? Open the CMake GUI app instead, point it at your source and build folders, and click Configure and Generate.
Alternatives
Ninja: A free, open-source build system focused purely on build speed; commonly used as the actual build tool CMake generates files for, rather than a direct CMake replacement.
Meson: A free, open-source build system generator with a simpler configuration syntax than CMake's, popular in newer C and C++ projects that want less boilerplate.
Bazel: Google's free, open-source build tool, built for very large, multi-language codebases with reproducible builds as a core design goal.